Modding a Canon 450d
Its time to modify that Canon 450d and get rid of the Filter that blocks off all that Ha signal we want so bad. Scared? you should be will you mess it up will the camera die on you have you got the nerves of steel to do this or are you a big girls blouse?
Ah who cares lets just do it.
Well I have modified a canon 350d in the past and that was harder then this so don't worry its not that difficult I did my mod in less then three hours and found it to be pretty easy. I just followed Gary Honis and his excellent tutorial
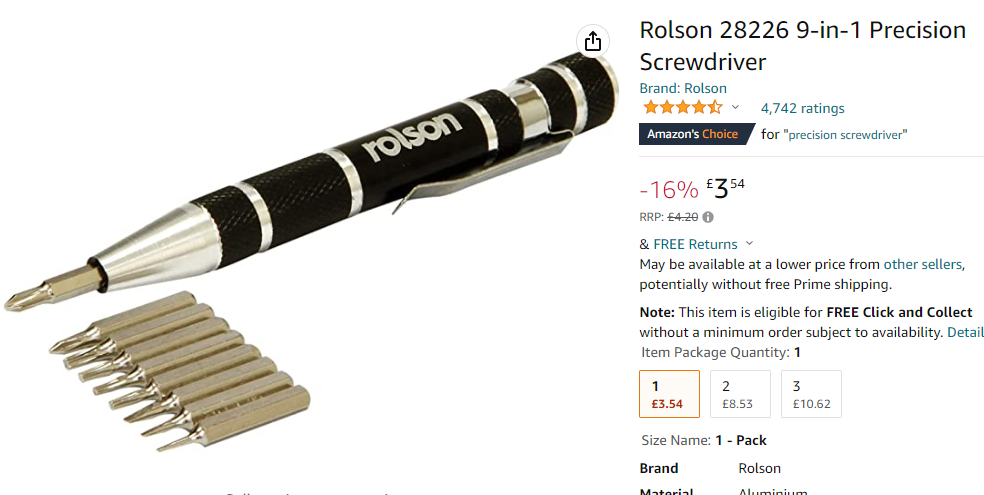
What tools will you need I just used a crappy Rolson Screw driver set and a craft knife and a tooth pick that was it. The Rolson screw driver worked great using the straight edge thin screw drivers they fit well in the tiny screws and got them out now problem the tooth pick is for pulling out the ribbon cables and a sharpie pen is used to mark the ribbon cable before you pull them out so you can put them back in at the correct depth handy tip.
Take your time and when your done if it doesn't come back on like it did for me three times aaaagh just take a deep breath and recheck those cables for me it was the first one you unplug but once they were all in correctly the camera came on and I now have a modded 450d excellent. Just remember when your doing this to stick all the screws to this guide print it out I just stuck them on with tape as I removed them so I knew exactly the order they went back in I have marked them with a yellow dot but you could just follow the video and stick them down on a note pad with some notes as you go along no big deal. Good luck.
Modding a Canon 450d
Not that hard to do just take your time first
remember to remove the battery and card
OK LETS DO
THIS BE BRAVE
1.
Lift off
the eye piece cover and remove three screws tape on this picture to remember
where they go as some are longer or shorter.
2.
Next remove
four screws from the bottom of the camera.
3.
Next remove
a long screw from the right side of the camera
4.
Now remove
two screws from the left side of the camera
5. Next remove two screws found where the retaining straps go
6.
Now lift off
the rubber cover on the back and remove one screw from there. It wasn’t there
when I did mine but check any way.
7.
Ok now we
can remove the back of the camera off.
Be careful
as there is a ribbon cable attached on the lower right bottom side the first of
many we will be unplugging.
Now we
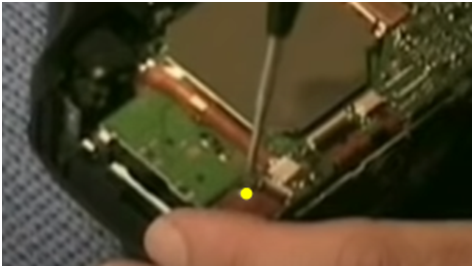
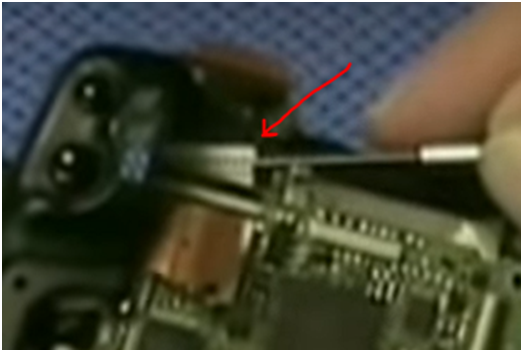
start unplugging ribbon cables use a small flat head screw driver and a tooth
pick to wiggle them out be very gentle doing this.
Gently lift
up the black push down clip to release this first ribbon cable. TIP use a sharpie marker pen to mark where it sits in the connector then when you put it back you
can see exactly where it should be. If you don’t and the cables are not pushed
in far enough the camera will not turn on trust me.
8.
Remove
three screws from the circuit board
9.
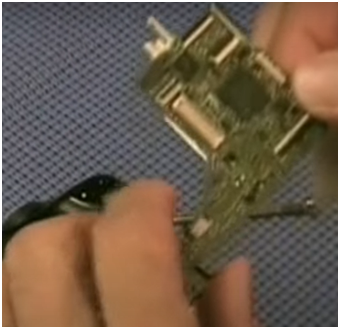
Now we
unplug all the ribbon cables take your time and be gentle. The first 4 are
Labelled a, b, c, d in this picture unplug them
all.
10.The next one is labelled E and just pops of with your finger nail.
The next one is labelled F and is a hinge type lift and remove
The next
one is labelled G and H
Next is ribbon cables I and J
I is just
behind ribbon cable G it’s a bit tricky but ok and J is just above Ribbon cable
H
11.OK now
all ribbon cables are removed and we take out one screw that was under ribbon
cable G show here.
12.Now we
bend back the grounding strap in the bottom left corner
13. Pull
out the plug in connector in the top right corner
14. Now carefully remove the circuit board it will lift out.
15. Now
remove one long screw on the right side of the cmos chip as shown here.
16. And
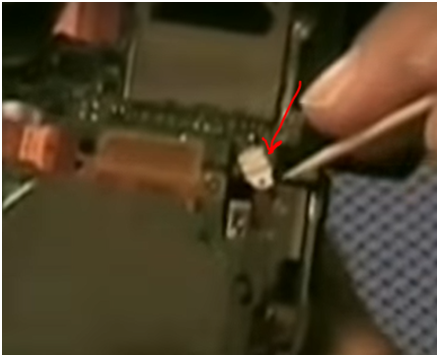
next unplug this small white ribbon cable
17. Next we
remove a tricky long screw from the top left next to the view port not too bad
just need a long screw driver to get to it.
17. Next is another long screw at the bottom left of the chip
18. Now two
more small screws shown here. The second one might have some black gunk around
it.
Ok we can not take out the Chip hooray the rest is pretty easy so take a deep breath
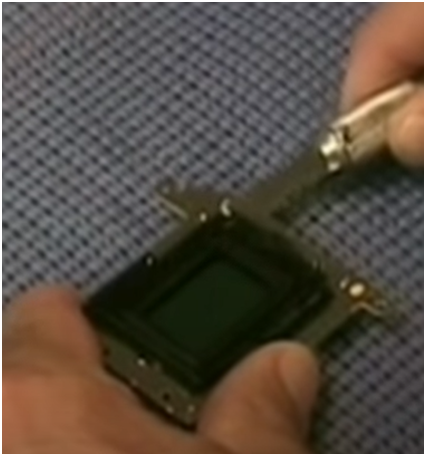
Remove this
screw then pop off the metal frame
That done
lift off the first clear filter called the IR filter we will put this back
again after removing the one behind it so put it in a nice dust free bag
remember dust is your enemy we don’t want any on the filter or chip when we put
it back.
Ok were
nearly done time to cut out the offending Ha blocking filter the little bastard
that it is.
So we
remove two small screws shown here
Then we prize off the cover carefully like
this
Now we
remove the original IR cut filter from its frame by cutting away the adhesive
in the corners and gently lifting it out shown here
When it is
out just put everything back reversing the procedures above and your done
Some important tips learned from doing this the first time.
Be gentle
don’t force anything especially the ribbon cables and make sure they all go
back in correctly make a mark on them with a black sharpie pen so you know
where they are supposed to fit back. If the camera won’t work when you’re done
it’s more than likely the ribbon cables so check them again.
No special
tools were used I just had a crappy Rolson screw driver and a craft knife and a
tooth pick.
This is the
video to watch as you do it from Gary Honis excellent instructions
https://garyhonislegacy.com/rebelmod450d1.html










Comments
Post a Comment